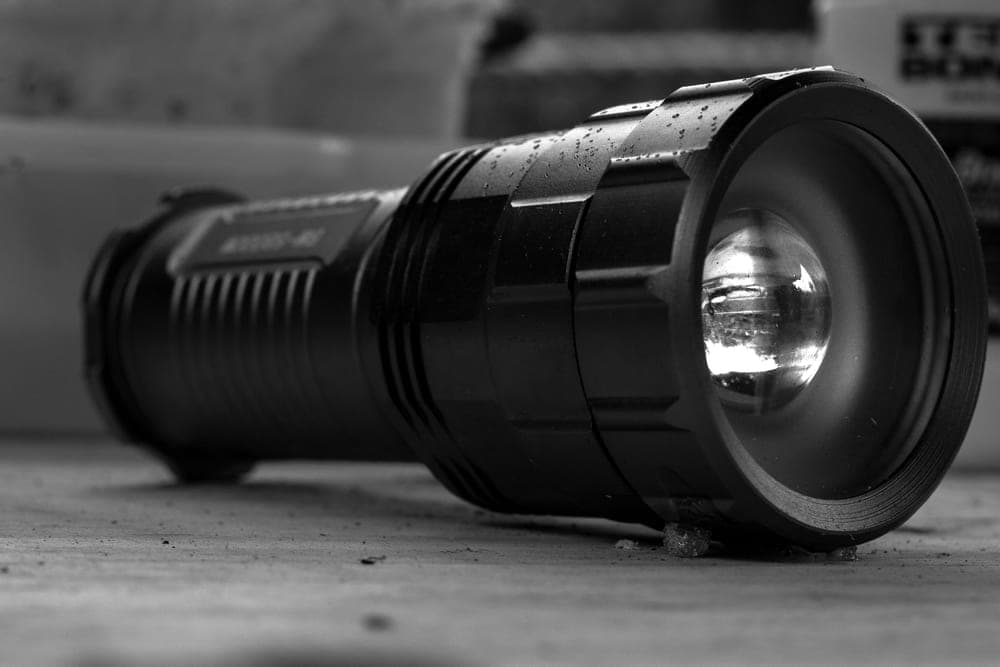
A hunting light that is mounted badly is worse than no light: the hot spot sits off the reticle, the objective bell throws a shadow across the bottom of your picture, or the switch is somewhere you cannot reach with your trigger hand. All three are mounting problems, and all three are fixable before dark.
What you are trying to achieve
Three things, in this order:
- The beam center lands where the reticle is. If the hot spot sits low-left at 80 yards, you are lighting the ground beside the hog.
- Nothing blocks the beam. The scope's objective bell, a bipod, a suppressor or a barrel can all clip the lower edge of a light mounted too low or too far forward.
- The switch falls under your hand. You should be able to raise the light from zero without breaking your grip or your cheek weld.
The three places a light can go
On the scope tube
A ring or clamp around the main tube, usually with a short Picatinny platform on top for the light's own quick-detach mount. This is the standard setup for visible hunting lights, and it has the big advantage that the beam sits directly above the reticle's optical axis, so it stays centered as distance changes.
- Good: beam and sight picture share an axis; nothing added to the handguard; works on a bolt gun with no rail.
- Watch: the mount must match your tube diameter exactly, and a big objective bell can shadow a light mounted too close to it.
On the rifle's rail
A Picatinny or M-LOK mount on the handguard — the usual home for an IR illuminator alongside a night vision scope, and for a light on an AR that already has rail space. The beam sits lower and further forward than the optic, which means a slightly different offset but also no interference with the scope at all.
- Good: rock-solid, lots of positions, keeps the scope tube clear.
- Watch: at close range the parallax between a handguard light and the optic is noticeable, and a barrel or suppressor shadow is much more likely.
Offset, to the side
A 45-degree or side offset mount puts the light out of the sight line entirely. It is the right answer when the light is big — a long-range kit with a 2.75 inch head — or when the scope bell leaves nowhere else to put it.
- Good: no shadow, no glare into the eyepiece, clears large objectives.
- Watch: the beam comes in from one side, so you must correct windage on the mount, and the rifle gets noticeably less balanced.
Check your tube size first
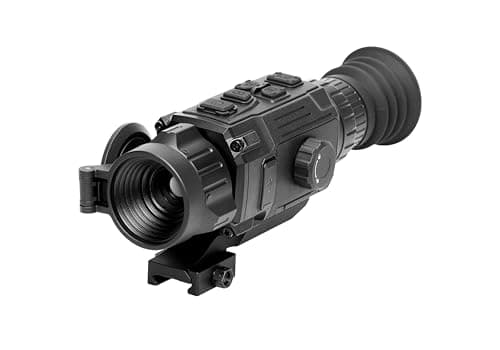
This is the mistake that costs people a hunt and a return shipment. Scope main tubes come in 1 inch, 30 mm, 34 mm and 35 mm, and most light mounts cover only the first two. Wicked Lights, for example, says plainly that its 1 inch and 30 mm Picatinny scope mount fits those two sizes only. Thermal and night vision optics are often 34 or 35 mm, and several — like the Pulsar Talion line — mount on Weaver-style bases rather than through rings at all.
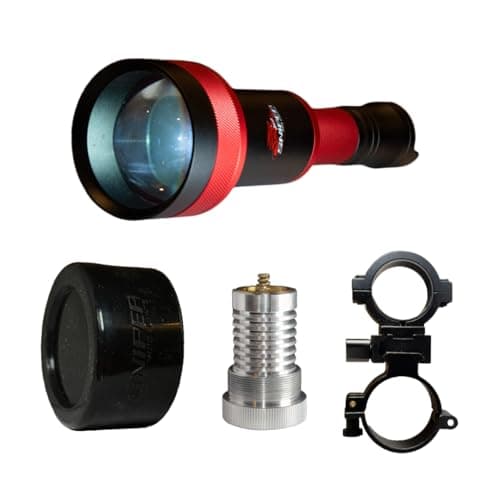
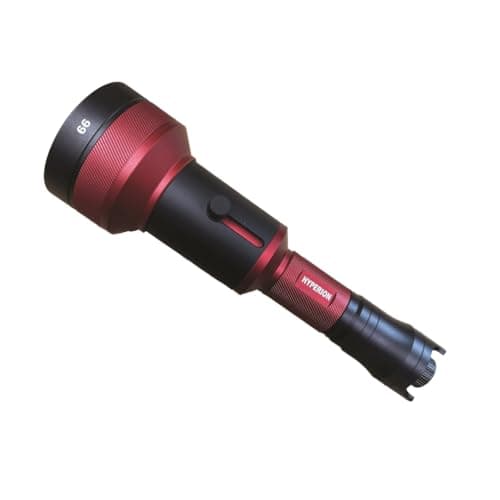
Measure or look it up before you order. If you land on a 34 or 35 mm tube, a rail or offset mount is your route, or a light kit whose own mount covers the bigger sizes — the Sniper Hog Lights Predator Pro mount in their Hyperion kits takes 35 mm, 30 mm and 1 inch tubes as well as a Weaver or Picatinny rail, and clears objectives up to 60 mm.
Lining the beam up with the reticle
Do this in the dark, at the distance you actually shoot, with the rifle in a rest. It takes ten minutes once.
- Set up a target at your working distance — your feeder, or a cardboard box at the same yardage.
- Settle the rifle in a rest and put the reticle on the target with the light off.
- Bring the light up from zero on its dimmer and look at where the hot spot lands relative to the reticle.
- Adjust the mount, not the rifle. A mount with windage and elevation screws — like Odepro's AS004 or the Predator Pro — walks the spot onto the crosshair. A fixed ring can only be rotated and shimmed.
- Check at a second distance. A beam centered at 50 yards will sit slightly differently at 150. Center it where most of your shots happen.
- Lock everything and re-check after a few shots. Recoil moves mounts that were snug rather than torqued.
The shadow problem
A dark crescent along the bottom of your sight picture is almost always your own hardware blocking the beam. In order of likelihood: the scope's objective bell, a suppressor, a bipod, then the barrel. Fixes, cheapest first:
- Move the light forward or back along the tube or rail until the obstruction clears the beam edge.
- Raise it. A taller mount or a riser gets the light above a large objective.
- Go offset. A side mount sidesteps the problem entirely.
- Narrow the beam. A tighter spot clips less on the way out — at the cost of peripheral light.
What changes with an IR illuminator
Mounting an infrared illuminator for a night vision scope follows the same rules with three differences:
- You align it through the scope, not by eye. The beam is invisible, so you center the IR hot spot while looking at the scope's own image. This is where windage and elevation adjustment stops being optional.
- Glare is the main enemy. An IR source mounted right beside the objective can wash the image out, especially in dust, fog or drizzle. Further forward on the rail usually fixes it.
- Dimming matters more than throw. Too much IR at 60 yards blows out a digital night vision picture completely. A stepless 0-100% switch, like the one on Odepro's KL52IR-Pro, is the feature to pay for. Our IR illuminator ranking covers which units have it.
Our picks for this job
What you need to mount a light properly
A light whose kit includes an adjustable mount, the rail that gives it somewhere to sit on a 1 inch or 30 mm scope, and an IR unit with a windage-and-elevation mount for night vision.
- Stock photo
Best 3-color scope light
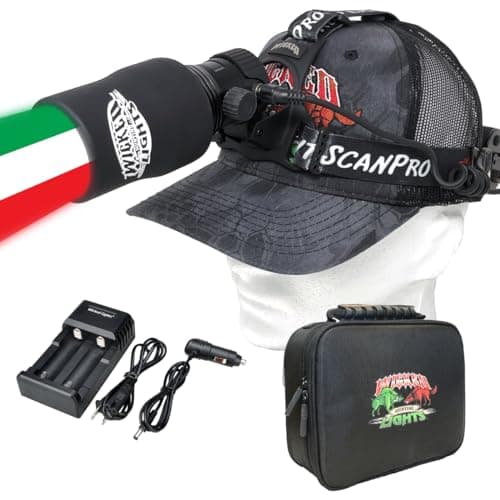
Wicked Lights A67iC 3-Color-in-1
Under $5007.8/10ResearchedShips with a quick-detach adjustable mount plus a Picatinny scope mount for 1 inch and 30 mm tubes, and a rheostat tail cap so you can ease the beam up while aligning it.
Check price · Amazon#ad · Price as of November 3, 2026 · How we make money for the link to Wicked Lights A67iC 3-Color-in-1
Best add-on rail for a scope-mounted light
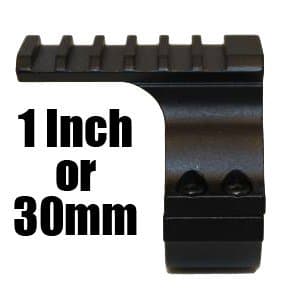
Wicked Lights 1" and 30mm Picatinny Scope Mount
Under $5004.2/10ResearchedNot a light: the low-profile rail that clamps to a 1 inch or 30 mm scope tube and gives a quick-detach light mount something to attach to. Fits those two tube sizes only.
$29.95Amazon#ad · Price as of November 3, 2026 · How we make money for the link to Wicked Lights 1" and 30mm Picatinny Scope Mount
Best scope-mounted 850 nm illuminator
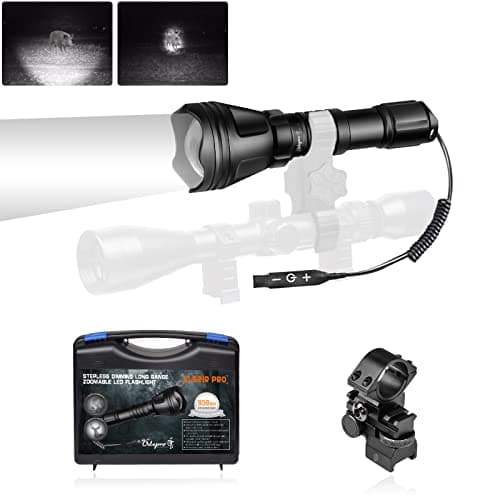
Odepro KL52IR-Pro 850nm IR Illuminator
Under $5006.8/10ResearchedAn 850 nm illuminator on a windage- and elevation-adjustable AS004 mount with stepless 0-100% dimming - the combination that makes aligning an invisible beam practical.
$119.95Amazon#ad · Price as of November 3, 2026 · How we make money for the link to Odepro KL52IR-Pro 850nm IR Illuminator
Switches and cord routing
The switch decides whether you actually use the light well. Two patterns:
- Tail cap dimmer on the light itself. Simple, nothing to snag, and you reach up with your support hand to adjust. Fine from a rest or a blind.
- Remote pressure switch on a coil cord. Taped or clipped to the handguard where your support thumb sits, so the light comes up without moving your hand. Better for field shooting, and the cord is one more thing to route.
Route a cord along the underside or the side of the handguard, secure it in two places, and leave enough slack that the light can be removed without unplugging anything under tension. Cords that loop below the handguard catch on fences and shooting sticks.
What to look for in a mount
- Windage and elevation adjustment. The single most useful feature, and the difference between a beam on your reticle and a beam near it.
- The right tube diameter, stated. 1 inch and 30 mm are common; 34 and 35 mm need checking.
- Quick detach. So the light comes off for daytime use and travel without losing its alignment.
- Objective clearance. Some mounts publish it — the Predator Pro clears up to 60 mm objectives.
- Enough height to clear a suppressor. Measure with the can on, not off.
- Steel or quality alloy, and real torque values. A mount that moves under recoil undoes every minute you spent aligning it.
Mistakes that ruin a setup
- Buying a mount before checking the tube diameter. The most common and most avoidable one.
- Using a fixed ring with no adjustment. You can rotate it and you can shim it, and neither is aiming it.
- Aligning in daylight. You cannot see the hot spot. Do it after dark at your real distance.
- Mounting too close to the objective bell. The crescent shadow at the bottom of your picture starts here.
- Running IR on full at feeder distance. It washes out a digital night vision image completely. Dim it.
- Leaving the cord loose. It will find a fence wire at the worst moment.
- Not re-checking after the first few shots. Recoil finds every screw you only finger-tightened.
How we scored this
Every score, built from the published record
Every pick here is labeled Researched: we read each maker's published specs, manuals and warranty terms, compare products only against others in the same budget tier, and score them on a public rubric. Every figure links to where it came from, and seller performance numbers are labeled “maker's claim,” so you can see exactly what you are buying.
Scores are our editorial read of that documented evidence. Commissions never set a score or decide a pick. The rubric and its weights are published.
What changed
- Published.
Questions
Frequently asked
Where is the best place to mount a hunting light?
How do you aim a hunting light so it matches the reticle?
Why is there a dark shadow at the bottom of my sight picture?
Can I mount a light on a 34 mm or 35 mm scope tube?
Where should an IR illuminator go on a night vision setup?
Receipts
Sources
- Wicked Lights: accessories page, 1 inch and 30 mm Picatinny scope mount fitment (checked 2026-10-17)
- Wicked Lights: A67iC 3-Color-in-1 kits page, included quick-detach and scope mounts (checked 2026-10-17)
- Sniper Hog Lights: Hyperion 66 Hunters Package page, Predator Pro mount fitment and objective clearance (checked 2026-10-17)
- Amazon listing: Odepro KL52IR-Pro, AS004 windage- and elevation-adjustable mount and stepless dimming (via search results, checked 2026-10-17)
- TPWD: Hunter education shooting safety rules (checked 2026-10-17)
- TPWD: Outdoor Annual, Nongame and Other Species, feral hogs (checked 2026-10-17)
- Texas Parks & Wildlife Code §62.005, Hunting with Light (texas.public.law; checked 2026-10-17)
Specs come from each maker's own pages or the product listing (linked on every product), hog biology and trapping advice from Texas A&M AgriLife, and rules from TPWD and Texas statute. Prices are set by Amazon and change often, so we don't print them. Where a figure isn't published, we say so. Read the full method.